1.8 KiB
1.8 KiB
| title | visible | media_order |
|---|---|---|
| Nextcloud OIDC | false | authentik-create-provider.webp, authentik-create-application.webp |
[toc]
https://blog.cubieserver.de/2022/complete-guide-to-nextcloud-oidc-authentication-with-authentik/
This guide will be using OIDC with the user_oidc plugin.
Authentik
Create provider
First, a new provider needs to be created. The setting can be found under Applications > Providers, click Create
In the first screen, select OAuth2/OpenID Provider and click Next
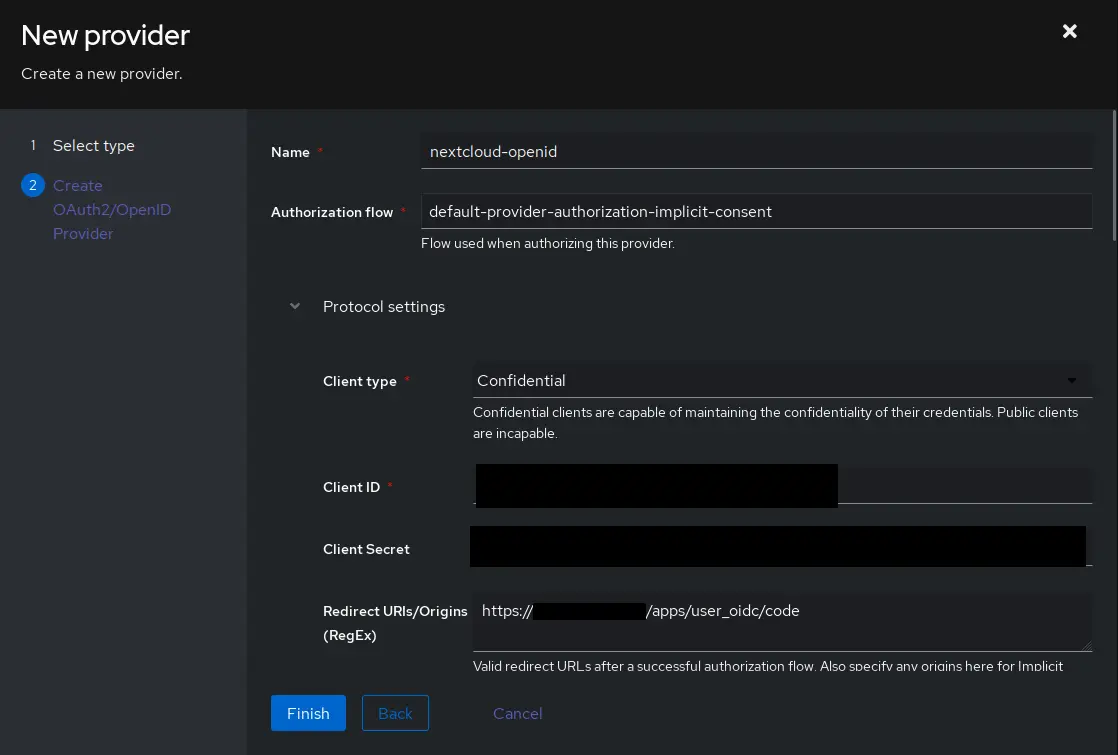
- Authorization flow: default-provider-authorization-implicit-consent (Choosing explicit consent instead means the user has to approve every login)
- Client type: Confidential
- Client ID: The auto generated value is fine, copy it for use later.
- Client Secret: WARNING user_oidc currently only supports values up to 64 characters in length. Make sure to trim the value below that, or generate a new secret with less characters.
openssl rand -base64 60Issue on user_oidc GitHub - Redirect URIs/Origins: https://{NEXTCLOUD URL}/apps/user_oidc/code
- Advanced protocol settings > Subject mode: Based on the User's username, this setting should be used to ensure Nextcloud’s federated cloud ID will have a human-readable value
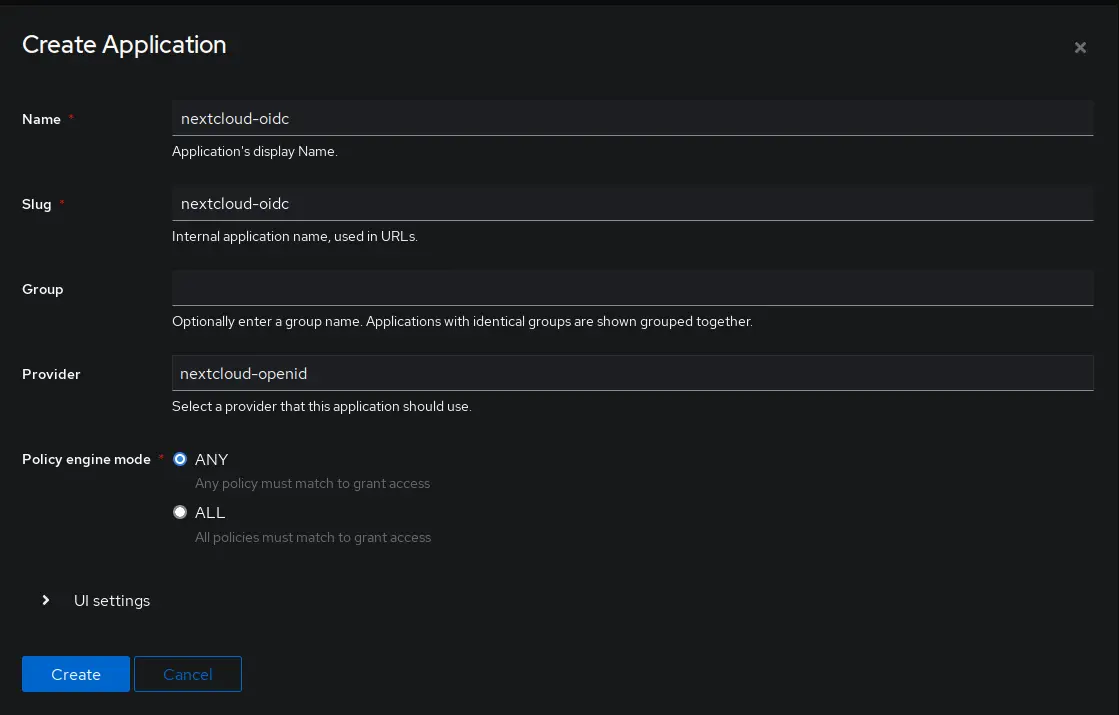
Create application
Now it is time to create the application.
Go to Applications > Applications and click Create
Set a name and choose the previously created provider under the Provider setting.
Other settings can be left at their defaults.